
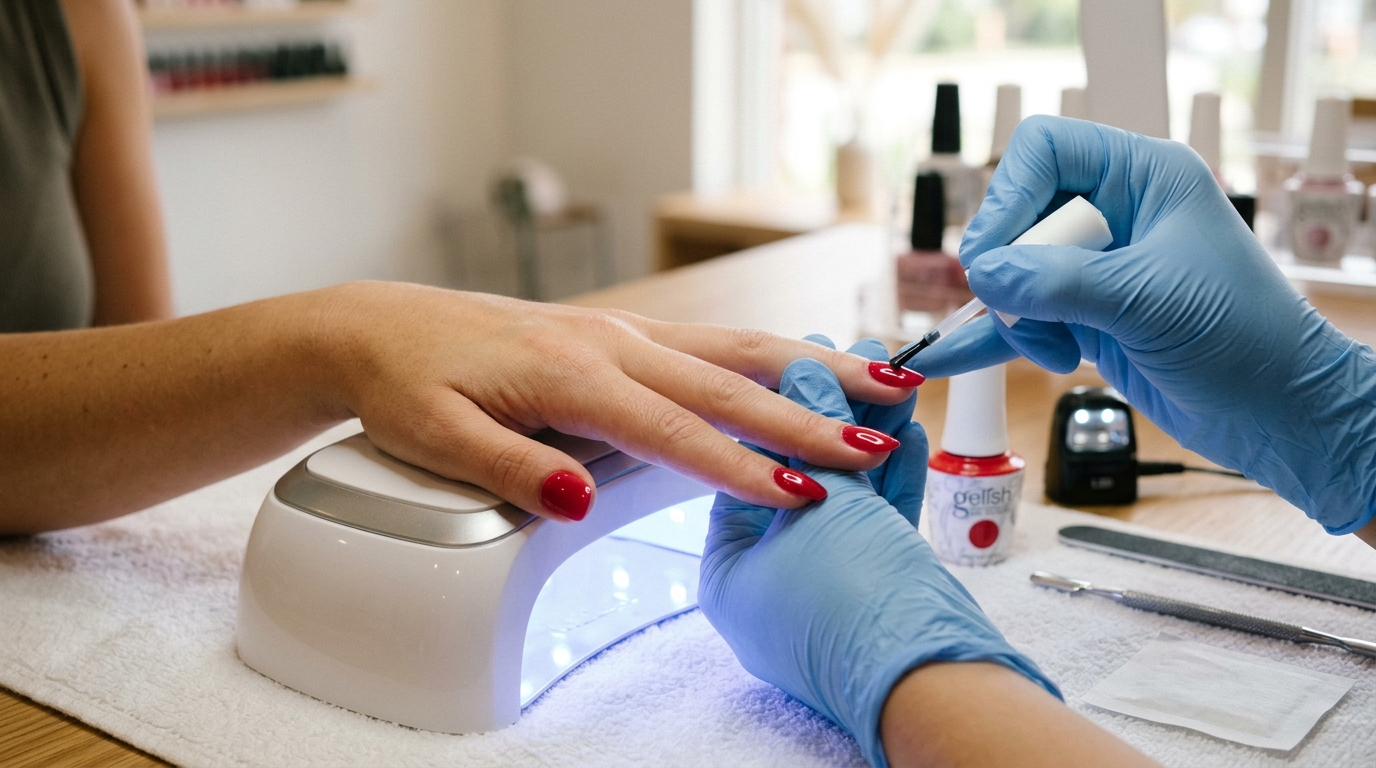
A gel manicure has become one of the most popular nail treatments in salons today, and for good reason. Unlike traditional polish, a gel manicure uses a special formula that hardens under UV or LED light, giving you a glossy finish that resists chipping for weeks. Many people choose this service because it delivers salon-quality results without the daily touch-ups that regular polish demands. In this guide, we will walk through everything you need to know about this popular treatment, from the application process to aftercare tips that extend its life. Whether you’re considering your first appointment or simply want to understand the science behind those chip-resistant nails, this article covers it all.
What Is a Gel Manicure, Exactly?
At its core, a gel manicure combines traditional manicure techniques with a polymer-based polish that cures under light rather than air-drying. Technicians shape your nails, push back your cuticles, and then apply several thin layers of gel polish. Each layer cures almost instantly under a UV or LED lamp, creating a hard, glossy shell. Consequently, you walk out of the salon with completely dry nails, eliminating the smudges and dents that often ruin regular polish jobs. The chemical composition includes photoinitiators that react to light, triggering a process called polymerization. As a result, the polish hardens into a durable, flexible coating that moves with your natural nail.
How Does a Gel Manicure Differ From a Regular Manicure?
Traditional manicures rely on polish that dries through evaporation, which takes time and remains vulnerable to smudging for hours afterward. Gel formulas, on the other hand, cure within seconds under specialized lighting equipment. This fundamental difference explains why gel finishes last so much longer than standard lacquer. Additionally, the cured gel creates a much harder surface, so it resists scratches, dings, and everyday wear far better than regular polish. Many clients also notice that gel manicures maintain their shine throughout the entire wear period, whereas regular polish often looks dull within just a few days. Therefore, if you’re someone who uses your hands constantly for work or daily tasks, gel might suit your lifestyle better.
The Step-by-Step Gel Manicure Process
Understanding what happens during your appointment helps set realistic expectations and ensures you choose a qualified technician.
Nail Prep
First, your technician trims and files your nails into your preferred shape, whether that’s square, oval, almond, or coffin. Next, they push back and trim your cuticles carefully to create a clean canvas. Buffing follows, which removes the natural shine from your nail plate so the gel can adhere properly. This step matters more than people realize, since proper adhesion directly affects how long your manicure lasts.
Base Coat Application
After prep work finishes, the technician brushes on a thin base coat layer across each nail. This layer protects your natural nail from staining and helps the color coat bond securely. Then, you place your hand under the UV or LED lamp for a short curing cycle, usually between thirty seconds and two minutes depending on the light type.
Color and Curing
Once the base cures completely, your technician applies the color gel in thin, even strokes. Typically, this requires two coats to achieve full opacity and a rich, even finish. Each coat goes under the lamp separately, so patience matters during this stage. Skipping proper cure times often leads to premature peeling, so a skilled technician never rushes this part.
Top Coat and Final Cure
Finally, a glossy top coat seals everything in place and adds that signature shine gel manicures are known for. After the last curing cycle, your technician wipes away the tacky residue left behind, revealing a smooth, glass-like finish. The entire process, from start to finish, typically takes between forty-five minutes and an hour.
Gel Manicure vs Dip Powder vs Acrylic
People often confuse these three options, but each uses a distinctly different method and material. Acrylics involve a liquid monomer mixed with a powder polymer, which hardens through a chemical reaction rather than light exposure. This method creates the strongest and most durable enhancement, making it ideal for nail extensions or repairs. Dip powder, meanwhile, involves dipping nails into colored powder and sealing each layer with an activator, skipping the lamp entirely. In contrast, gel manicures use light-cured polish exclusively, without added powder or monomer thickness. Because of this, gel typically feels thinner and more natural on the nail compared to acrylic or dip powder builds. If you want strength and length, acrylics may serve you better; however, if you prefer a natural look with excellent shine, gel remains the superior choice.
How Long Does a Gel Manicure Last?
On average, a well-applied gel manicure lasts between two and three weeks without chipping or peeling significantly. Several factors influence this timeline, including your nail growth rate, daily activities, and how well you care for your hands afterward. For instance, people who frequently wash dishes without gloves or work with their hands extensively may notice faster wear. Similarly, applying cuticle oil regularly helps maintain flexibility in the gel, reducing the chance of lifting at the edges. Ultimately, proper application technique plays the biggest role, since rushed or improperly cured layers fail much sooner than carefully applied ones.
Benefits of Choosing a Gel Manicure
Many people gravitate toward gel manicures because the advantages genuinely outweigh the extra cost for most lifestyles. First and foremost, the instant dry time means you avoid smudges that plague regular polish during the first few hours. Furthermore, the glossy, chip-resistant finish maintains its appearance for weeks, saving you money on frequent touch-ups. Gel polish also offers more design flexibility, since nail artists can create intricate patterns, ombre effects, and detailed nail art with greater precision. Additionally, gel formulas tend to be gentler on the natural nail compared to acrylic extensions, especially when applied and removed correctly. For people with active lifestyles or jobs requiring frequent handwashing, gel provides reliable durability that regular polish simply cannot match.
Potential Drawbacks to Consider
Despite its many benefits, gel manicures aren’t perfect for everyone, and you should weigh some real drawbacks before booking. The UV light exposure raises some concerns, though research suggests the risk remains low for occasional salon visits. Nevertheless, people with sun sensitivity or a history of skin cancer might want to discuss this with a dermatologist first. Removal also requires more effort than regular polish, since you must soak nails in acetone or have a professional file off the gel. Improper removal, particularly when people peel gel off themselves, can severely damage and thin the natural nail underneath. Moreover, gel manicures typically cost more than traditional polish services, which adds up over time for regular clients. Some people also experience temporary nail thinning or increased sensitivity after repeated gel applications without proper breaks between sessions.
How to Remove a Gel Manicure Safely
Removing gel polish correctly protects your natural nails from unnecessary damage and weakness. Start by gently buffing the top layer of shine to break the seal, which helps the acetone penetrate faster. Next, soak cotton balls in pure acetone, place them on each nail, and wrap your fingertips in foil. Leave the foil wraps on for roughly ten to fifteen minutes, allowing the acetone to dissolve the gel fully. Afterward, gently push off the softened gel using a cuticle stick, never scraping or forcing it if resistance remains. If any gel still clings stubbornly, repeat the soaking process rather than peeling it forcefully. Finally, moisturize your nails and cuticles thoroughly with oil or cream to restore hydration lost during the removal process.
Tips for Making Your Gel Manicure Last Longer
A few simple habits can significantly extend the lifespan of your gel manicure between appointments. Always wear gloves when washing dishes, cleaning, or handling harsh chemicals, since these activities weaken the gel over time. In addition, apply cuticle oil daily to keep both your nails and the surrounding skin hydrated and flexible. Avoid using your nails as tools for opening cans, scratching labels, or prying objects apart, as this causes chips and cracks. Furthermore, consider asking your technician about a strengthening base coat if your natural nails tend toward thinness or brittleness. Regular touch-up appointments every two to three weeks also help maintain a fresh, polished appearance without overgrowing the gel.
How Much Does a Gel Manicure Cost?
Pricing varies considerably depending on your location, the salon’s reputation, and any additional nail art you choose. On average, expect to pay between thirty-five and sixty-five dollars for a standard gel manicure in most areas. Upscale salons in metropolitan cities often charge more, sometimes exceeding seventy or eighty dollars for premium services. Add-ons like intricate nail art, rhinestones, or French tips typically increase the total cost further. Although this price exceeds regular manicures, many clients feel the extended wear time justifies the additional investment. Comparatively, frequent regular manicure touch-ups might cost similarly over the same two-to-three-week period anyway.
Who Should Avoid Gel Manicures?
While gel manicures suit most people well, certain individuals should approach this treatment with extra caution. Pregnant women, for example, might want to limit UV exposure as a precaution, even though current research shows minimal risk. People with extremely thin or damaged nails should consider strengthening treatments first before committing to gel application. Similarly, anyone with a known allergy to acrylates, a common ingredient in gel formulas, should avoid this service entirely. If you’ve experienced allergic reactions, redness, or swelling after previous gel applications, consult a dermatologist before trying again. Otherwise, most healthy adults can enjoy gel manicures safely with proper application and removal techniques.
Final Thoughts
A gel manicure offers a fantastic solution for anyone seeking long-lasting shine without constant touch-ups or smudged polish. From the curing process under UV light to the durable, glossy finish, this treatment has earned its popularity for good reason. However, proper application and removal remain essential to protecting your natural nail health over time. By following the aftercare tips outlined above, you can enjoy beautiful, chip-resistant nails while minimizing potential damage. Ultimately, whether you choose gel for a special occasion or as your regular nail care routine, understanding the process helps you make informed decisions. With the right salon and technician, a gel manicure can become a reliable part of your beauty routine for months and years to come.